How to Create MPSC New Account 2022 । How To Update MPSC Profile 2022 | Create New MPSC Profile New Method 2022 | Update MPSC Profile New Update 2022
जर तुम्हाला MPSC च्या संकेतस्थळावर नवीन MPSC profile create करायची असल्यास नवीन method नुसार करावी लागेल जी may 2021 पासून सुरु झालेली आहे. हि नवीन Method काय आहे ? आणि तुम्ही नवीन Methed नुसार स्वतःच Profile कसं तयार कराल.
आणि जर तुम्ही याआधीच MPSC ची कुठलीही Exam दिलेली असेल तर तुमच्या कडे आधीच एक Profile असेल तर ती Profile कशा पद्धतीने Update कराल यासंदर्भात आपण सविस्तर माहिती पाहुयात.
How to Create MPSC New Account | MPSC New User Registration
- How To Create MPSC Profile And Edit MPSC Profile
- Open Any Internet Browser
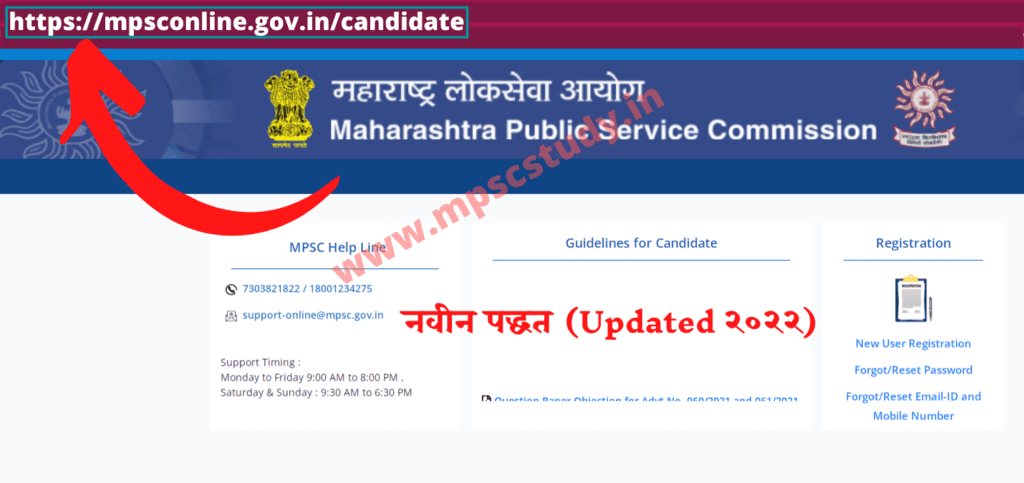
- Go to Website: https://mpsconline.gov.in and press Enter to open MPSC Online Application System.
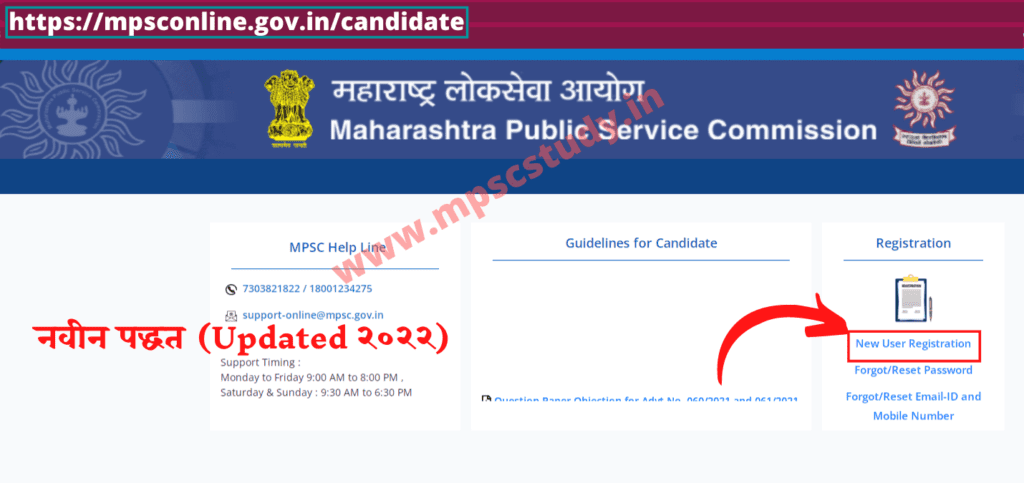
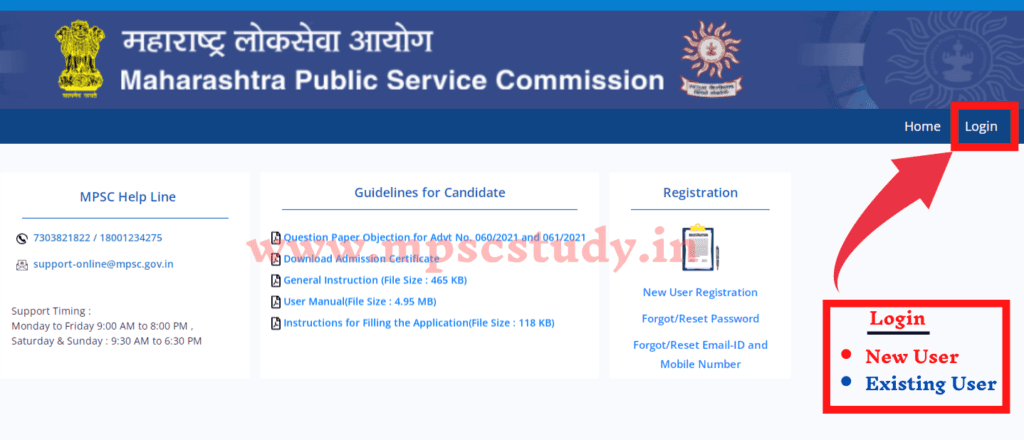
- Click on New User Registration button as showing below
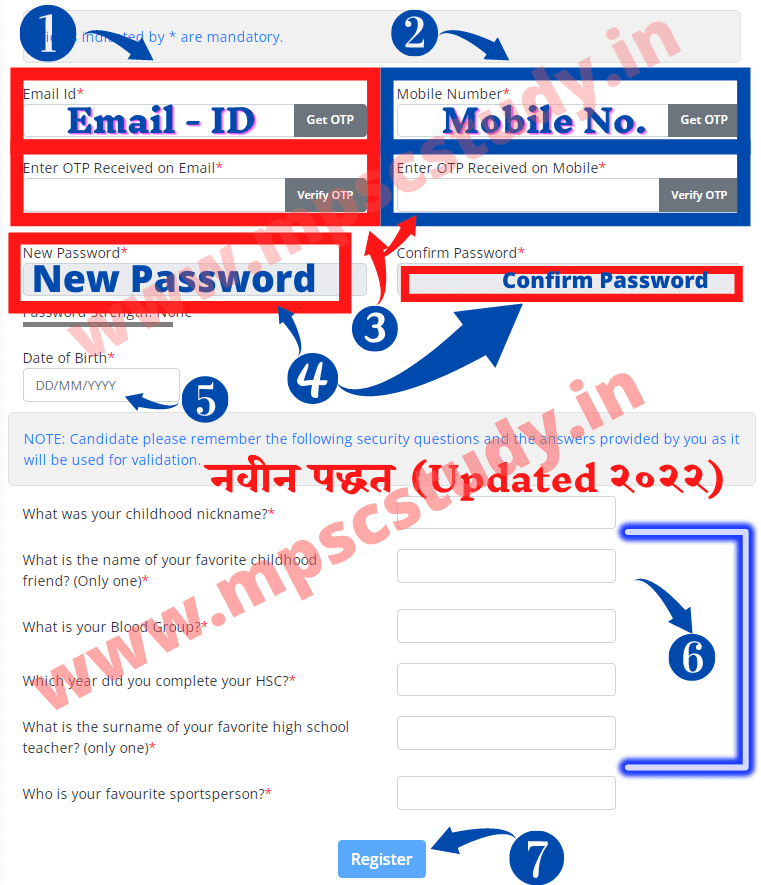
- Fill all Required information ( marked with * ) and click on Create User button as showing below
आता तुम्ही MPSC च्या संकेतस्थळावर New User म्हणून Successfully Registered झाला आहात.
पहिली Step ती म्हणजे New User Registration Complete झालेलं आहे. आता यानंतरची Step ती म्हणजे तुम्हाला नवीन profile create करावी लागेल ती कशी करावी आता याबद्दल माहिती पाहुयात.
How To Create New MPSC Profile 2022 | How To Update MPSC Profile 2022
- Login-in with Registered User Name and Password.
- The home page will get open as highlighted below.
आता खाली Image मध्ये मध्ये दाखवल्याप्रमाणे Home -> Profile Creation -> Online Application -> My Account हे Options दिसत आहेत इथे तुम्हाला आधी Profile Creation या Option वर Click करायचे आहे.
त्यानंतर तिथे तुम्हाला खाली Step १ to Step ६ दिसत असतील ह्या सर्व Steps तुम्हाला एक-एक करून भरून घ्यायचे आहे, जे कि अगदी सोपं आहे कारण यात तुम्हाला तुमच्या विषयी माहिती द्यायची आहे.
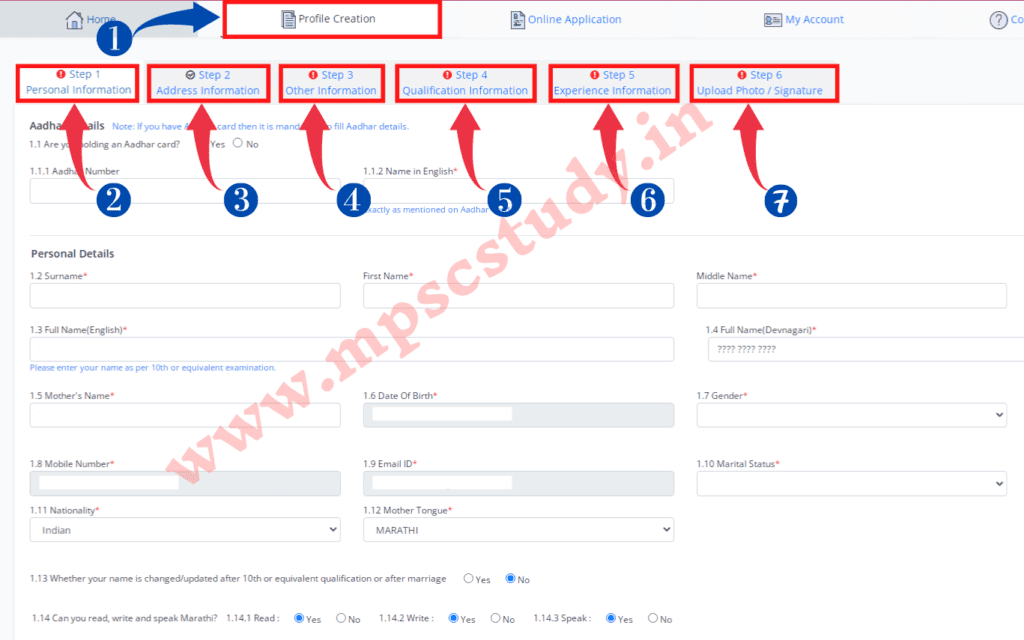
- Step 1
Personal Information :
इथे तुम्हाला Aadhar Details, Personal Details : पूर्ण नाव, Physical Measurement : उंची वजन इ., Caste / Category Details, Persons with Benchmark Disabilities Details, Sports Details, Ex-serviceman, Government of Maharashtra Employee Details, Domicile Details, Orphan Details इत्यादी बद्दल तुम्हाला लागू असलेली माहिती द्यायची आहे.
- Step 2
Address Information :
इथे तुम्हाला तुमचं Permanent Address आणि correspondence address म्हणजेच पत्रव्यवहाराचा पत्ता इत्यादी विषयी Detail मध्ये नमाहिती द्यायची आहे.
- Step 3
Other Information :
इथे तुमच्यावर कुठल्या कोर्ट मध्ये काही Cases तर नाहीत ना किंवा, कुठल्या Examination मध्ये तुम्हाला Black Listed तर केलं नाहीना अश्या प्रकारची माहिती तुम्हाला द्यायची आहे.
- Step 4
Qualification Information :
HSC, Graduation, P.G, MSCIT, Typing इत्यादी विषयी माहिती द्यायची आहे.
- Step 5
Experience Details :
जर तुम्हाला याआधी कुठला (Govt. or Private Job) बद्दल Experience जर असेल तर, ती Information इथे द्यायची आहे.
How To Upload Photo/Sign?
- Step 6
Upload Photo / Signature :
upload केलेली Image ची size 50kb पेक्षा जास्त नसावी Photo ची width (125 to 130 Pixels) असावी आणि photo ची height (150 to 170 pixels) इतकी असावी.
Signature ची width (125 ते 130 Pixels) आणि signature ची height (50 ते 60 pixels) च्या दरम्यान असावी.
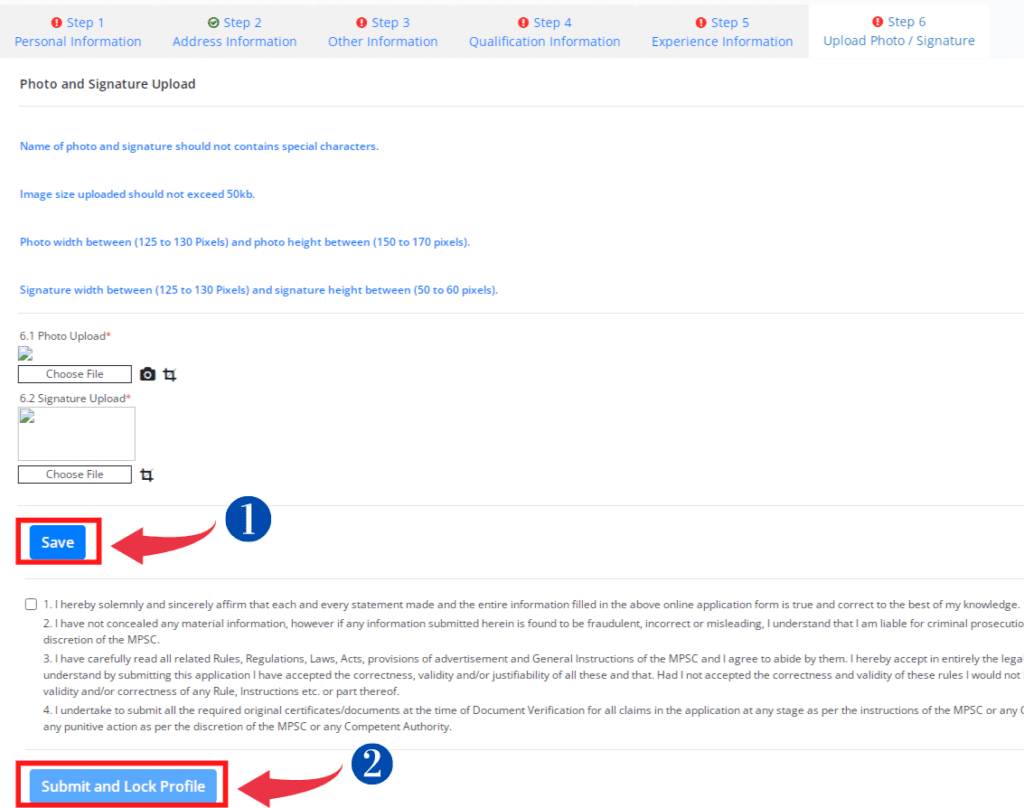
वरती सांगितल्याप्रमाणे सर्व माहिती भरून झाल्यानंतर Save या Button वर Click करा आणि त्यानंतर Submit And Lock Profile या Button वर Click करा तेव्हाच तुम्ही Online Application या विभागात Enter होऊ शकता किंवा MPSC परीक्षांसाठी Form भरू शकता.
अन्यथा तुम्हाला असा Message Display होईल.
Note : Candidates Profile must be locked before applying for any advertisement. So please provide all the required details in OTR and Lock your Profile. म्हणजेच (टीप: कोणत्याही जाहिरातीसाठी अर्ज करण्यापूर्वी उमेदवारांचे प्रोफाइल लॉक केलेले असणे आवश्यक आहे. त्यामुळे कृपया सर्व आवश्यक तपशील ओटीआरमध्ये द्या आणि तुमचे प्रोफाइल लॉक करा.)
What if I have not selected any centre for MPSC exam?
आपण परीक्षा केंद्र निवडले नसेल तर काय होईल?
जर तुम्ही MPSC Exam साठी Exam Center निवडलेले नसेल तर सीट उपलब्ध असेल तर तुम्हाला जवळचे परीक्षा केंद्र मिळेल म्हणजे काय? जर आपण नागपूर येथील आहात आणि नागपूर येथे या परीक्षेला बसू इच्छित असाल.
परंतु आपण त्या Exam साठी Exam Center Select केलेल नसेल तर जागा उपलब्ध असल्यास तेथेच आपणास आपले परीक्षा केंद्र दिले जाण्याची शक्यता आहे (किंवा नागपूर जिल्ह्यात जवळपास तुमच्या Address पाहून). जर त्या जिल्यात कोठेच जागा उपलब्ध नसल्यास लगतच्या जिल्यात उपलब्ध ठिकाणी दिल्या जाईल.